Custom Post Types for Headless WordPress with Atlas Content Modeler

Custom Post Types allow us to create pages that are categorized by their own type rather than utilizing the predefined types given to us by default with every WordPress site, including Posts and Pages. This is useful in a variety of situations – for example, creating profile pages for staff members, collecting testimonials, and any other scenario in which we have collections of related content that we want to display in a templated way.
Creating a Custom Post Type in WordPress requires us to either register our Custom Post Type by writing the code, or utilizing a plugin. Atlas Content Modeler is a plugin that is designed to help us quickly and easily define content Models, register them as Custom Post Types automatically, and query their data. It is specifically designed for use in headless WordPress development.
What Atlas Content Modeler Does for Us
Atlas Content Modeler is a plugin developed and maintained by the team at WP Engine to build Custom Post Types visually as content Models, and makes them immediately available to query using WordPress’s REST API or the GraphQL API enabled with WPGraphQL. This means we can introduce Custom Post Types to our projects for content management across any type of page, or even build them for individual components. We can utilize any content type to create a field, maintaining complete control of how we will render it on the front end. We can also configure custom taxonomies to create relationships between our Models and Custom Post Type data.
Configuring WordPress for Atlas Content Modeler
In order to create our Custom Post Types for headless WordPress, we need to perform a few steps:
- Set up WordPress by installing the necessary plugins
- Create the content Model for our Custom Post Type
- Define the fields for our Model
- Publish posts using our Custom Post Type
- Query the Custom Post Type data from the front end of our headless site
- Generate pages from our Custom Post Type nodes
Continue reading to understand each step in the process and start creating your own Custom Post Types in minutes.
Installing the Plugins We Need
Like every headless WordPress project, we need to start by installing and activating WPGraphQL. Additionally, we will need to install and activate Atlas Content Modeler. Since my front end is built with Gatsby, I also have WP Gatsby installed and running.
Building Our First Custom Post Type Model
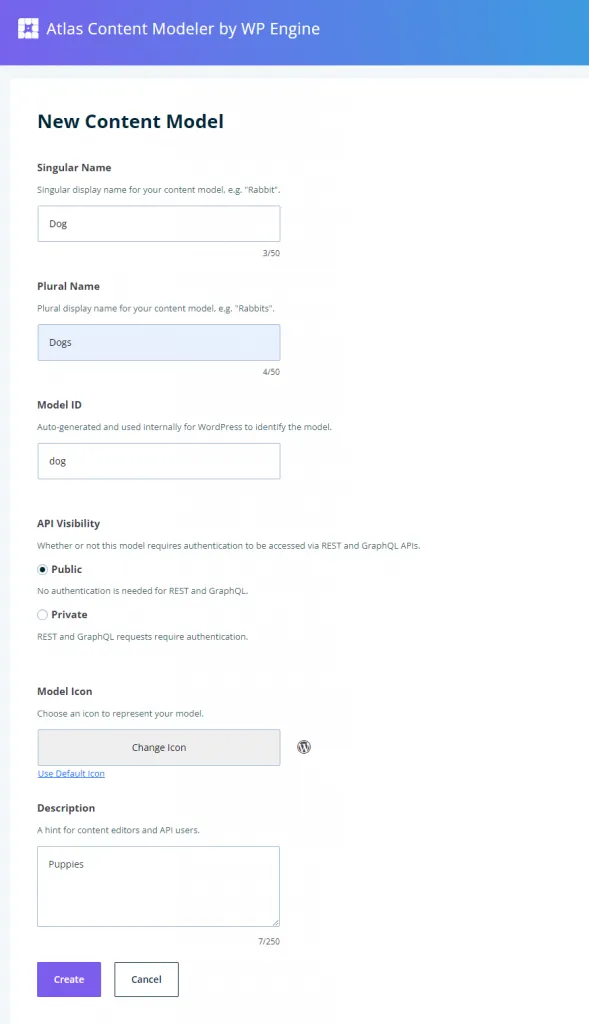
Building a Custom Post Type with Atlas Content Modeler is easy. Under the ‘Models’ tab, click ‘New Model’ and choose the singular and plural names for the post type, choose an icon and description, and decide whether or not to add its data to the public API (choose ‘Public’ to follow along with this tutorial). For this example, let’s create a Dogs Model to manage information about specific dogs, something that might be needed for an animal shelter website.
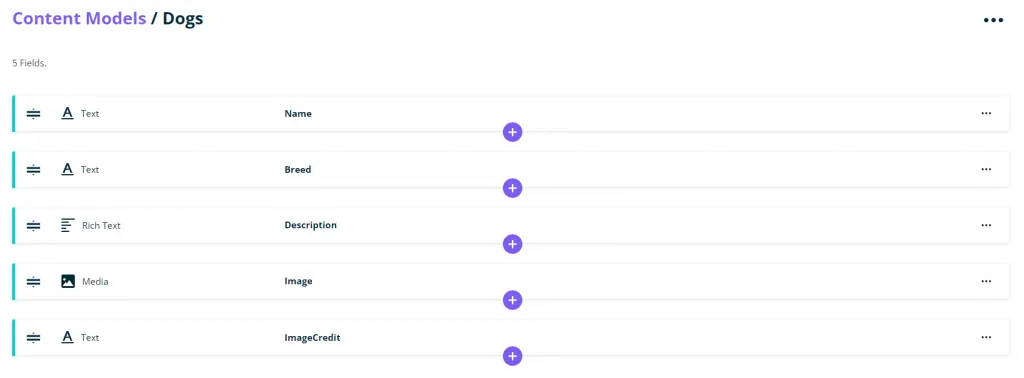
Once we’ve created the Model, we must define fields for the Model. We do this by creating input fields and defining the type of data that the content manager will be able to enter and update. We have access to the full range of input types, and can create a very dynamic content management experience.

For my Dog posts, I only want to collect some basic information: the name, breed, a description, an image, and credit for the image author since I will be utilizing images from Unsplash.
Creating Posts of Our Custom Type
Now we have a ‘Dogs’ Post Type available in WordPress, and we can create new posts just as we are used to doing with other kinds of posts, but using a customized interface using the input types we specified when building our Model.

Viewing Our Data with WPGraphQL
After creating posts using our new Custom Post Type, we can view the data in the GraphiQL IDE provided by WPGraphQL to confirm that everything is available and to build the GraphQL query that we will use on the front end to pull the data from WordPress.

Generating Custom Posts with Gatsby’s File System Route API
Now that our Custom Post Type has been created in WordPress and is available to query, we need to pull the data into our front end. A previous article discusses using the createPages API in the gatsby-node file to programmatically create pages based on blog posts, but this time we will utilize Gatsby’s other tool for generating pages dynamically: the File System Route API.
This API allows us to generate pages from collections in our GraphQL data layer, which includes the Dogs type we just created and added to our schema. We simply define the type of node within a collection that we have access to in the data later by setting the file name of the page route within curly braces to show that it is a dynamic URL segment, such as {wpDog.name}.js to build pages based off the Dog’s name. Gatsby would automatically create a page for every node in the Dogs collection using its name as the URL parameter. In my case, I want each post of this type to always be rendered in the /dogs directory, and to use the dog’s name field as the parameter, so my file route looks like this:

Setting GraphQL Types in Gatsby Config
How do we know the name of the node within our data layer? With our development server running, we can build the query from the front end using the GraphiQL IDE found at http://localhost:8000/__graphql. We can also determine what prefix to add to our data queried from WordPress as a plugin option for gatsby-source-wordpress in our gatsby-config file using typePrefix on the schema property:
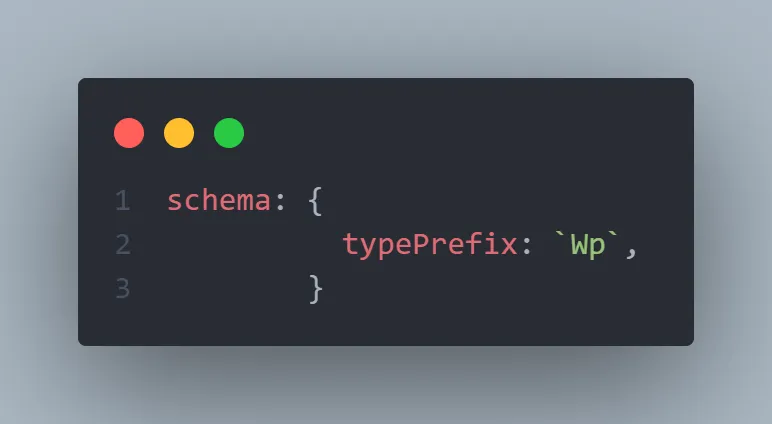
Since ours is set to the default prefix “Wp,” we know that the data collection sourced from WordPress will be found in the data layer under ‘wpDog’ (if we were querying for all nodes in the category, we would use ‘allWpDog’).
How Custom Post Data is Passed to Our Page Component
Per the File System Route API documentation, whenever we generate pages in this manner, Gatsby generates a query automatically and passes our page context including the node’s ID and any additional fields used in the File System Route. So, our page context includes the ID for the post, which we can use inside of a page query to get the data specific to each page by passing it as a variable:

Creating The Template Component
When we export page queries in Gatsby, the data received is passed to our page component in the data prop. From here we can render it into custom components to determine how it is displayed to the user.

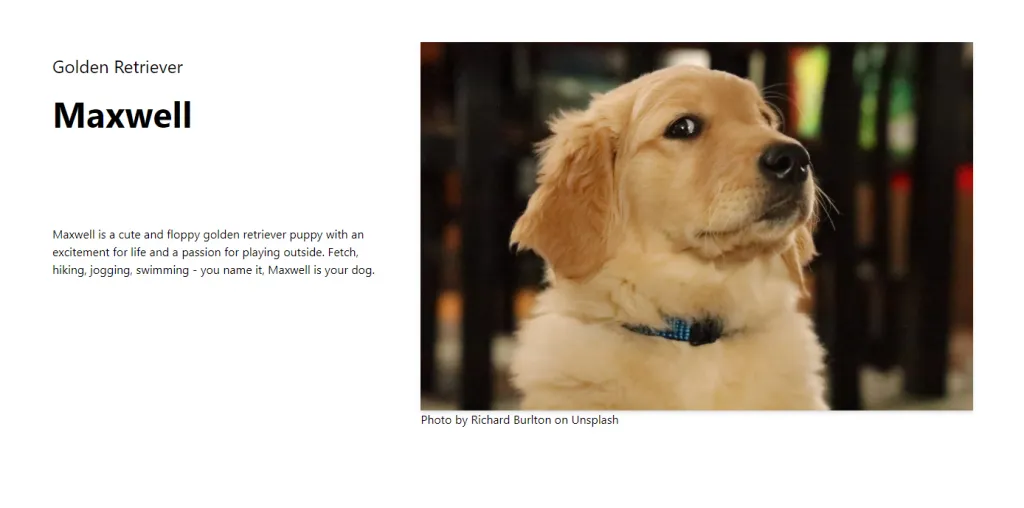
The result: a page has been generated for each dog, within the /dogs subdirectory, using the dog’s name. For example, Maxwell’s page is found at /dogs/maxwell/:
Programmatic SEO with Custom Post Types
Another reason that one might utilize Custom Post Types is to generate pages using templates for programmatic SEO campaigns. Using our Dogs example, suppose that the reason we created these Dog posts was to build the website for an animal shelter in Denver to create pages for available pets. We might generate these pages from a Custom Post Type so that shelter employees can easily manage content about the available animals.
On the front end we can implement some basic templates with our SEO component to generate dynamic Title Tags & Meta Descriptions for each page using a template that accepts dog-specific data as variables:
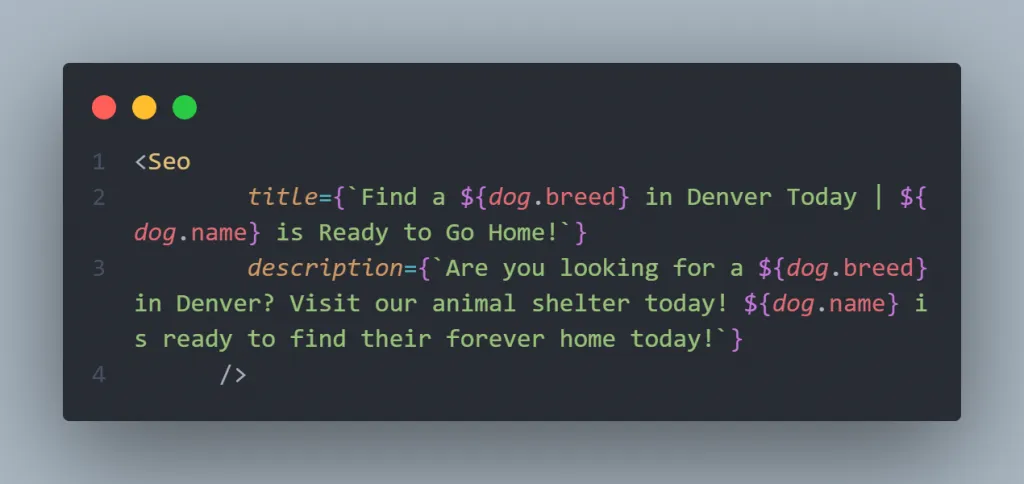
The final, statically generated version of the page includes a Title Tag that reads: “Find a Golden Retriever in Denver Today | Maxwell is Ready to Go Home!” As discussed in a previous post about using Yoast for headless WordPress, we could inject structured data here as well.
Custom Post Types & Headless WordPress: Final Thoughts
Using Atlas Content Modeler, Custom Post Types give us increased flexibility and control over our content with WordPress. We can quickly create Custom Post Types that can be created and updated by any user from WordPress. From here we can set up build hooks to trigger rebuilds, and we have complete control over which pages to render at build time versus using Deferred Static Generation if we are building with Gatsby or Incremental Static Regeneration with Next.js to manage large sets of content.
In the era of Jamstack architecture and GraphQL APIs, Custom Post Types are necessary for efficient large scale content management, and Atlas Content Modeler makes this easy to do with headless WordPress.
Share this post
Stay in the Conversation
Thoughtful essays on web development, SEO, and automation — sent occasionally, never spammed.
Related Posts
- Astro vs. WordPress: Rendering Patterns of the Modern Web
- Shattering Headless WordPress Build Times with Astro’s Content Layer API
- Headless WordPress SEO with Yoast & GraphQL
- Building a Headless WordPress Site with Node & GraphQL
- Creating Our Own Headless WordPress Source with Gatsby & the WordPress API